It’s confession time, my friends. I, Sarah Klusak, am kind of scared of technology. Sure, I can do a fair amount of basic computer stuff, your Facebooking and Googling and whatnot. But then I started working at the MMLC, and I quickly realized how incredibly lacking my technology know-how is. I mean, have you ever peeked inside the equipment cabinets behind the desk in the MMLC public lab? I’m wary of even LOOKING at anything in there for fear of breaking it!
But that’s all changing, thanks to the lovely Cecile! She has graciously offered to teach this “n00b" (internet slang for technology newcomer or “newbie”) how to use some of that scary equipment, and I’ll be sharing her wisdom in a series of “Technology for N00bs” blog posts. All of these articles will have the same premise – if I can overcome my techno-fear and become comfortable with this equipment, SO CAN YOU!
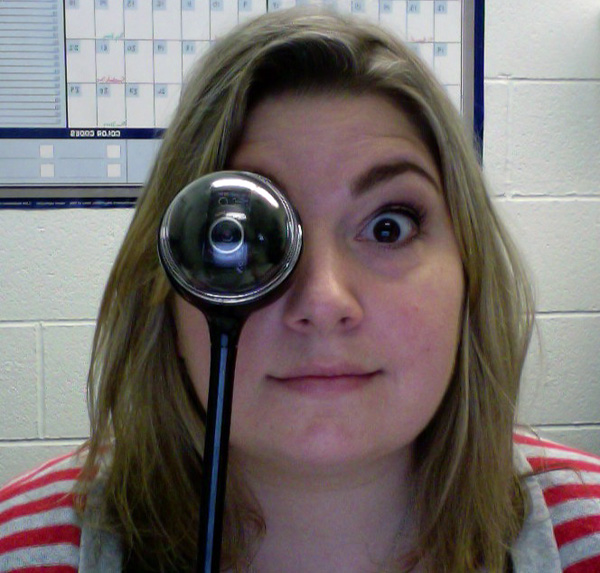
Feeling rather cyborg-esque with the Logitech camera
Prior to starting at the MMLC, I had never tried Skype or Facetime or any of the other myriads of video conferencing programs. Fancy video calls were fine for the folks in Back to the Future 2, not for ME! Then my best friend moved across the country, and suddenly I had a valid reason to shed my video-phone phobia. Enter Cecile, Logitech camera in hand, to teach me the finer points of video conferencing. Let’s begin this adventure together, shall we?
The Basics
Thankfully, video conferencing is MUCH easier than I originally thought. There are really only three things to consider: the microphone (audio in), the speakers (audio out), and the camera (video). Regardless of what program you use, once you figure out these three parameters, it’s a “set it and forget it” scenario.
The easiest video conferencing situation is a one-on-one conversation using the computer‘s built-in equipment. For the purposes of this tutorial, I’ll be using Skype on a Mac computer (this IS the MMLC, after all). Before beginning your conversation, make a quick stop at the “Preferences” menu to verify your settings. Click on the “Audio/Video” button and adjust the settings if/as necessary.
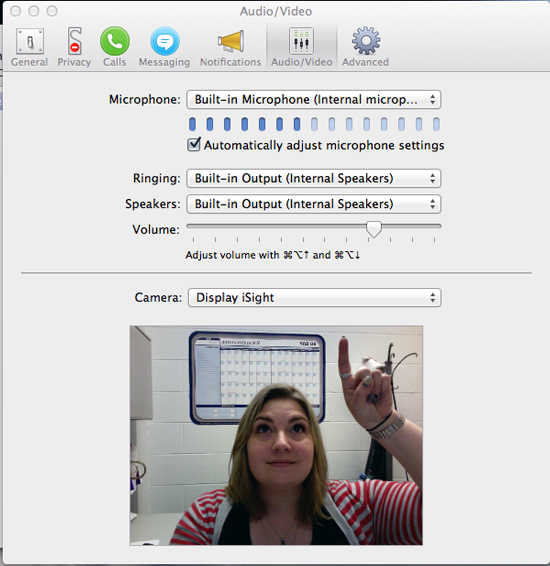
Whose fault? DEFAULT! (Ugh, that was terrible.)
As you can see in this picture, I’ll be using the built-in microphone, speakers, and camera for this call. For this set-up, I didn’t even have to change anything – it automatically defaulted to the built-in options. Once these audio/video options are set and verified, I go back to the original screen and find the person I want to call within my Contacts. Once I know they are online (the program will show their status), I dial them up and commence the conversation! Easy peasy!
But what if I want to use something OTHER than the computer’s built-in equipment? What if there are 10 people on my end trying to squeeze into the frame of the computer’s camera? What if I’m in a public space and want to use those fancy “headphones with a mic” thingies? Fear not, my friends, because it truly is easier than it might seem!
The Fancy Schmancy
Whenever you’re using external equipment for your video calls, it’s usually a simple matter of plugging it in and letting the computer do most of the work. A majority of this equipment will have a USB connection. Once it’s plugged into the computer, just visit the old “Preferences” tab and click on the “Audio/Video” button (like before). Your equipment will automatically show up as an option in the drop-down box, so just adjust your three parameters (microphone, speakers, and video) accordingly. For instance, here’s what I chose after I plugged in those fancy headphones:
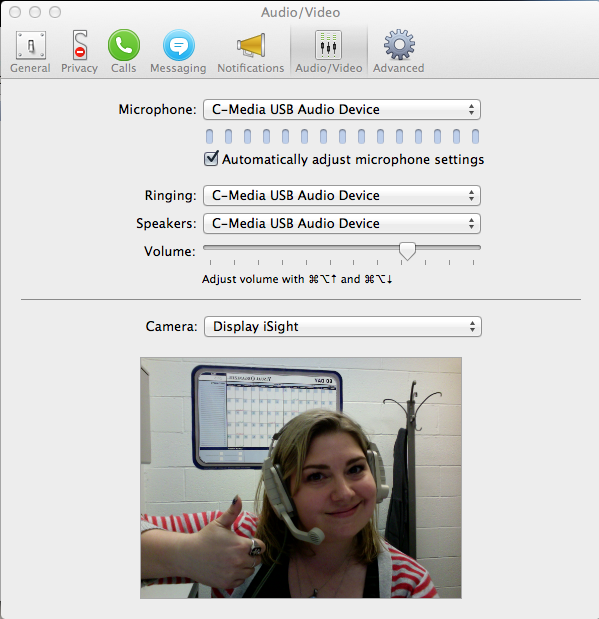
Rockin’ those headphones like a BOSS!
Now, let’s move on to the really fun stuff – the Logitech camera kit, which can be checked out from the MMLC’s public lab (Kresge 1-335). This thing looks like some sort of alien sent to take over the world (and maybe it IS), but don’t get too intimidated. The Logitech is basically just a camera, microphone, and speaker system specifically made for video conferencing.
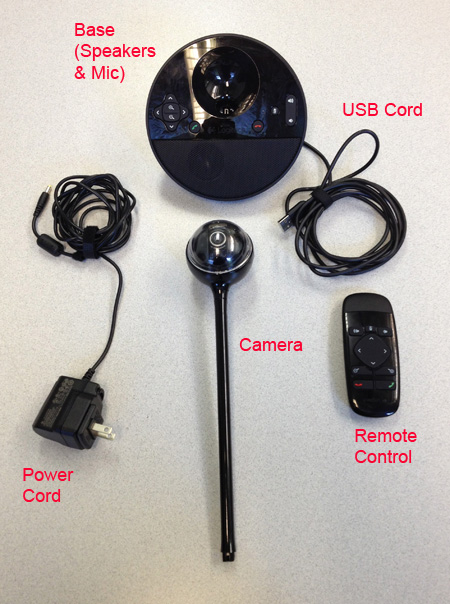
Logitech: Deconstructed
After you connect the power cord and camera to the base, just plug the power cord into an outlet and connect the USB to your computer. Then you’ll follow the same basic steps as before – “Preferences” tab, “Audio/Video” button, and adjust the settings as necessary. If you want to completely customize the settings, now’s your time to do it. Do you want to use the Logitech camera and speakers, but speak into the computer’s built-in microphone? You can do that! It’s all adjusted in this same window, so feel free to go crazy!
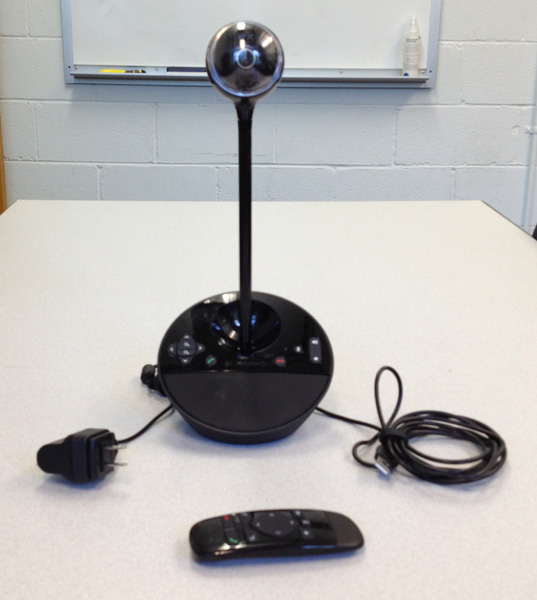
Doesn’t this thing look like the Eye of Sauron when it’s all set up?
One of my favorite things about the Logitech camera is that is has a remote control. While you lean back in your chair on the other side of the room, you can move the camera around, zoom in and out, lower and raise the volume, you name it! I suggest simulating an earthquake during your next important conference call, just to keep everyone on their toes.
Are you a n00b like me? Do you want to learn more about a certain type of equipment or technology? Leave a comment or send me an email (sklusak@northwestern.edu) with any suggestions for my next “Technology for N00bs” article!