If there’s one thing I’ve learned about our intrepid MMLC leader, Matthew Taylor, it’s that he is extremely detail-oriented. As such, he loves taking notes! Outlines of lectures, discussions from meetings – if it can be written down and saved for future reference, he’s excited. After a recent meeting, Matt and I were discussing our notes and wishing we could remember some of the finer points. Partially in jest, I said, “Next time, I’ll just record the meeting and transcribe the whole thing!” You should have seen his eyes light up! And thus, I began my adventure exploring the MMLC equipment shelves.
I’m a pretty fast typer to begin with, but I tell you, this transcription equipment is awesome! It is possible to take almost any kind of audio – CD, mp3, cassette tape, etc. – and use the foot pedals to play, stop, rewind, and fast-forward, all while keeping your hands free to tippety-type away. Here’s how the MMLC can help you begin your own adventure of transcribing proportions!
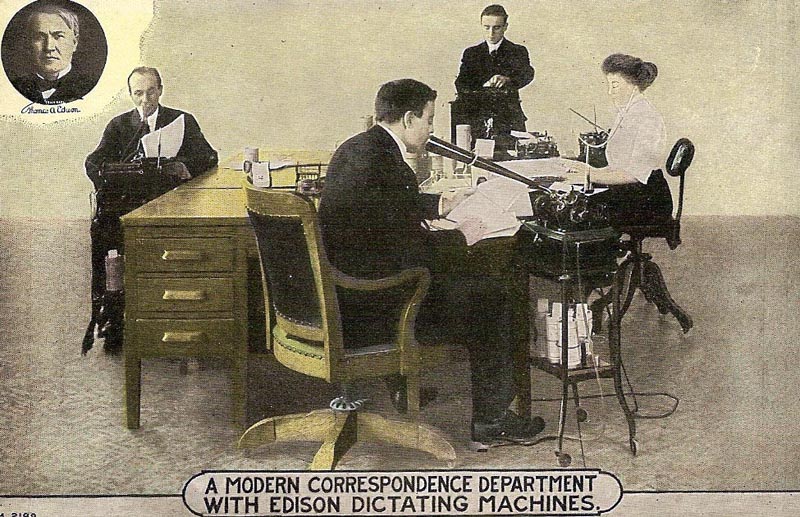
Maybe the MMLC should invest in one of these bad boys…
Old School Style
In anticipation of the upcoming school year, Cecile and company are working hard to digitize much of the older media in our lab, such as VHS tapes and audio cassettes. These things don’t last forever, so before they deteriorate beyond repair, transferring the data can be important. If you need to transcribe some older tapes, or even if you just prefer a more manual approach to your technology, then the cassette-based Sanyo Memo-Scriber is going to be your best bet. All you need is this handy machine and something with which to type, be that a computer, typewriter, stenograph, etc.
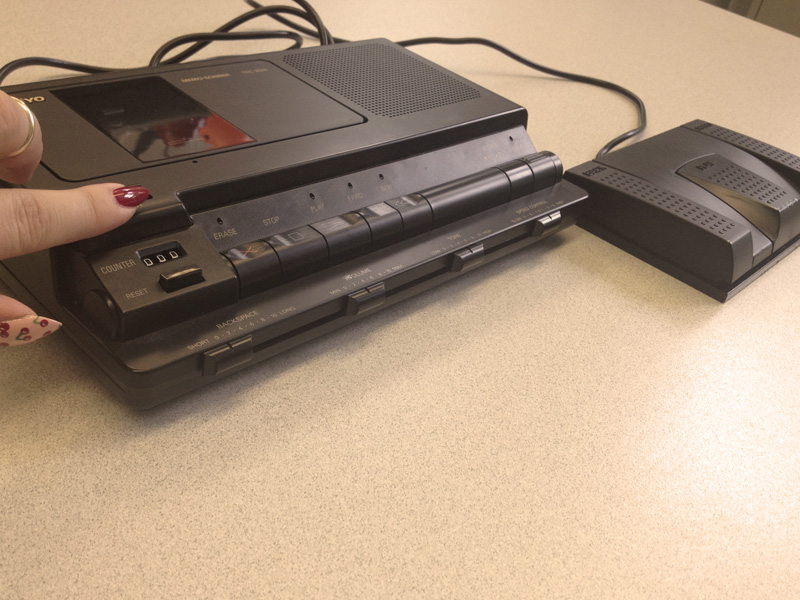
This makes me nostalgic for the ’80s
To begin, just pop your cassette into the transcribing machine. Plug the plugs into the corresponding plug-holes (power and pedal), turn that puppy on, and you’re ready to go.
There are a bunch of different buttons and controls on the machine, so here’s a brief rundown of what they mean:
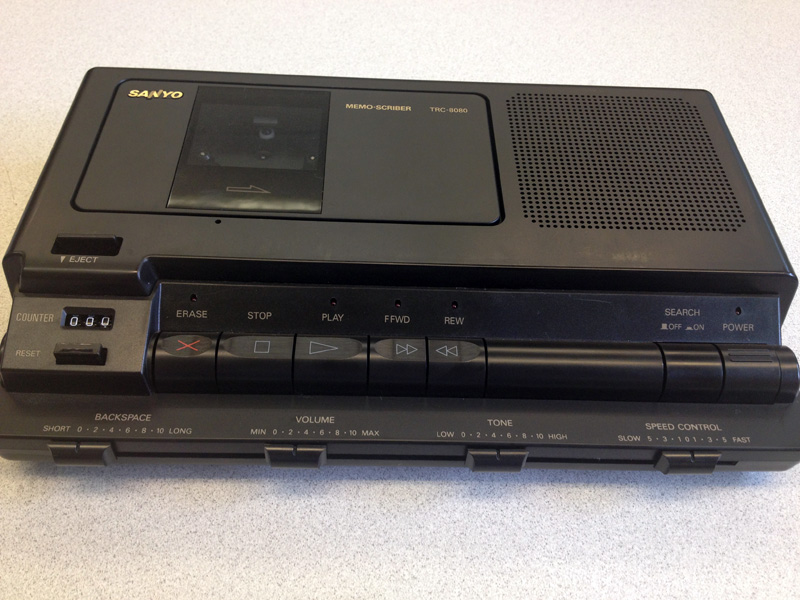
A close-up of the bells and whistles
Stop, Play, FFWD, and Rewind – These buttons are pretty self-explanatory; they differ from the pedal in that you don’t need to hold them down to keep the tape playing/rewinding/fast-forwarding; you press the button once and then hit “Stop” when you want to, you know, stop
Erase – If you want to erase a tape, you hold this button down while hitting FFWD or Rewind
Backspace – This one’s kind of cool. If you’re using the pedals to play the tape, the unit will automatically rewind a bit when the pedal is released. This slider controls how far the machine rewinds in this instance
Volume – Do I really need to explain this one?
Tone – This is sort of like a very generic equalizer, in that it adjusts the treble and bass when the tape is playing
Speed Control – As its name implies, this makes the playback faster or slower, which can be a handy feature if you aren’t the fastest typer
Search – Honestly, I couldn’t figure this one out. I think it has something to do with “chapters” on a tape, and using the fast-forward or rewind buttons to skip ahead or back to these stopping points automatically. Perhaps?
Welcome to the New Age
Since we live in an age where technology is king and almost all audio files are digital, most people will gravitate toward a transcription pedal that connects to a computer. The MMLC has the Infinity IN-USB-2 pedal, which is basically a 3-part pedal with a USB cord that connects into your computer’s port. Once you download the free ExpressScribe software, you’re well on your way to transcription success!
Simon demonstrates how to use the Infinity USB pedal
This set-up has many of the same features as the Sanyo Memo-Scriber, but the controls are within the ExpressScribe software. Here’s how you get started:
- Download the free ExpressScribe software here.
- Before you open the ExpressScribe program on your computer, I suggest plugging the Infinity pedal into an open USB port. This will usually enable the software to recognize the equipment without any additional set-up on your part. Make sure the pedal can reach your feet while remaining plugged in!
- Open up ExpressScribe and start playing around. It comes pre-loaded with a recording, so test the waters by clicking the “Welcome” file, then pressing the pedals to see if you can make it play with the power of your feet!
- If the pedals aren’t working, click the Preferences button (the one with the little gears) and hit the Pedals tab. It should look something like this:
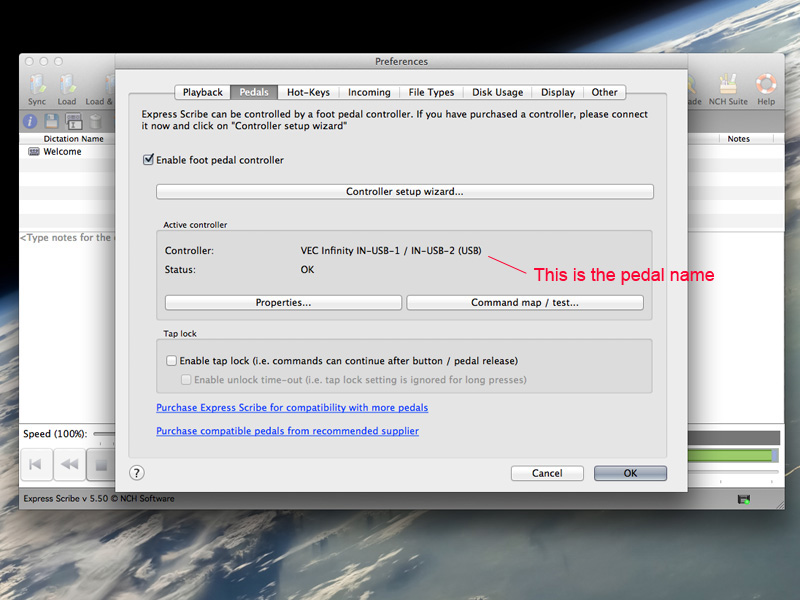
Pedal Power!
- If there aren’t any Controllers showing, click the Controller Setup Wizard button and follow the prompts. That should do the trick!
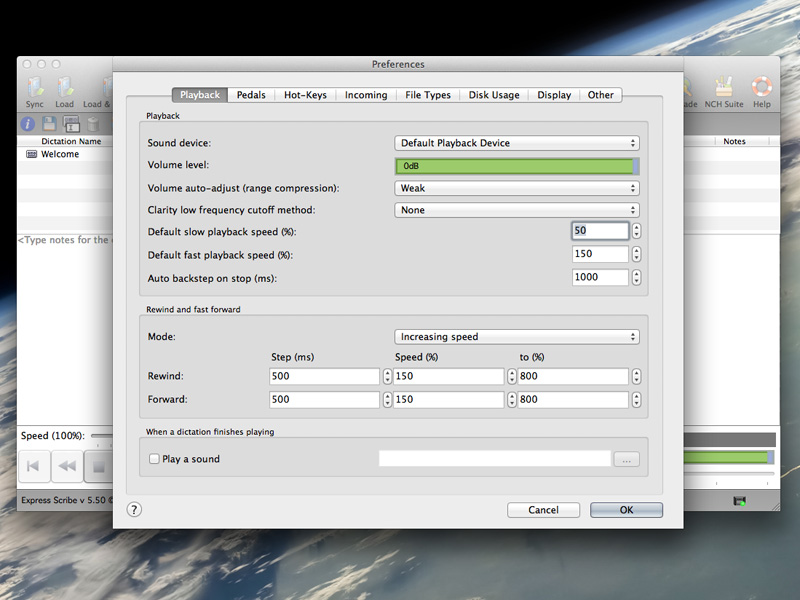
- Once the pedals are in good working order, you can further enhance your experience by playing around with the settings in the Playback tab of the Preferences window. For instance, if you want the recording to rewind slightly when you lift your foot off the Play pedal (like the Backspace feature on the Sanyo Memo-Scriber), you can adjust this in the “Auto backstep on stop” field. Keep in mind, this field is in milliseconds, so a value of 1000 here equals one full second.
- After you’re all set and the preferences are to your liking, just drag your digital file into the main ExpressScribe window. The free version of the software doesn’t accept all file types, but this .wav file worked fine. (The ExpressScribe site has a chart that shows what files are accepted.)
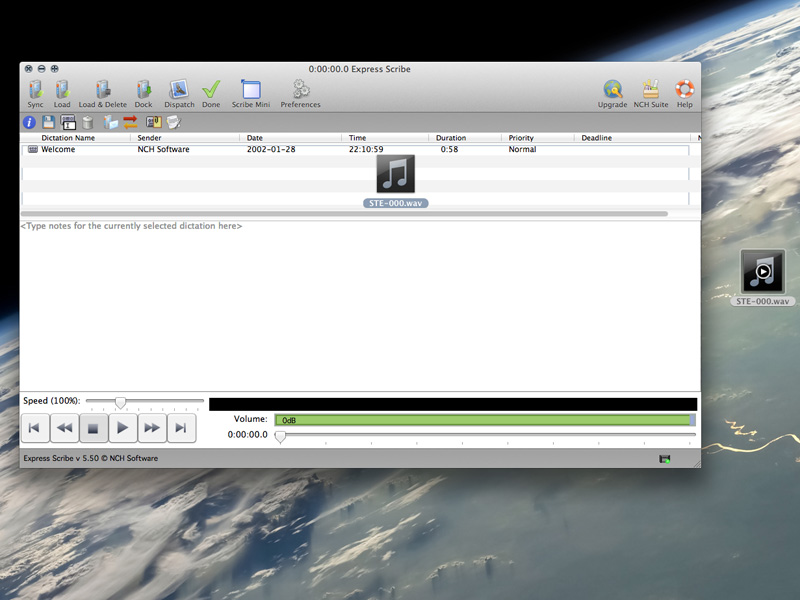
Don’t mind me, I’m just dragging that little file on the right into the ExpressScribe window…
- Using the pedals, play your audio file. You can transcribe into any program as long as ExpressScribe is running in the background. If you want to customize what each pedal does (like switching the fast-forward and rewind pedals), simply go to Preferences -> Pedals -> Command map/test.
There are additional functions within the software, but these basics will allow you to do almost anything you’ll probably need to do.
So that’s it, a quick and dirty tutorial on transcribing! As always, every piece of equipment covered in this article is available to borrow from the MMLC public lab (Kresge 1-335), so come on over and check them out!